Category: Free Inquiry Page 1 of 2

Advice to future bakers

Hi Carly’s Crew,

I had so much fun doing this inquiry and eating all the snacks! Ā I wanted to wrap up my findings and share some advice for future bakers so check it out…

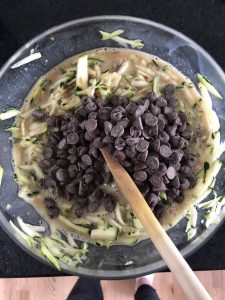
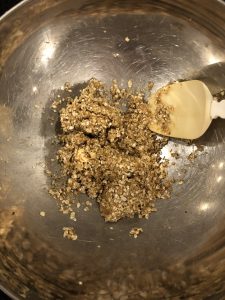
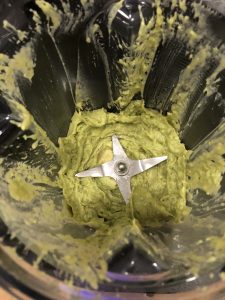
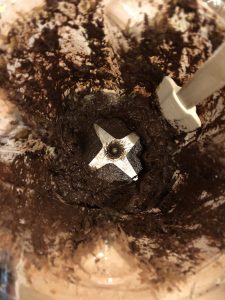
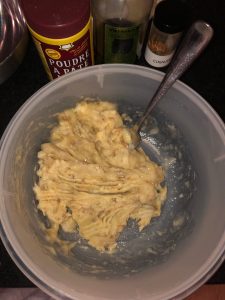
1: Don’t be afraid of the vegetablesĀ 

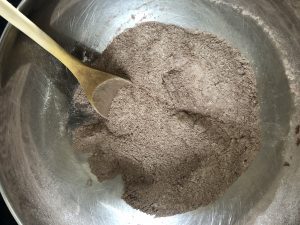
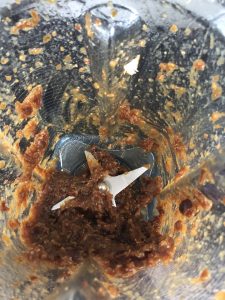
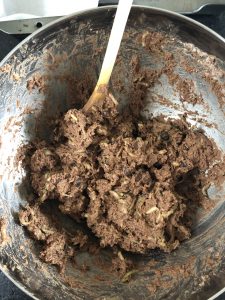
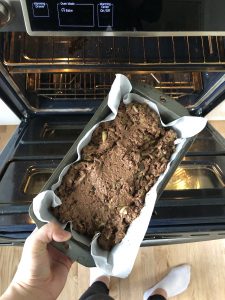
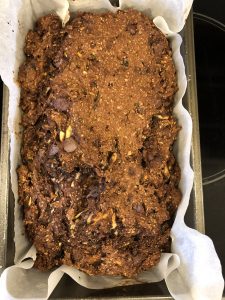
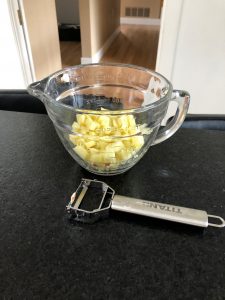
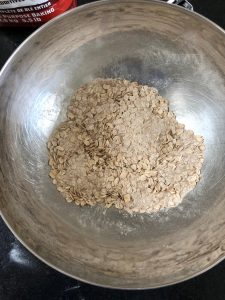
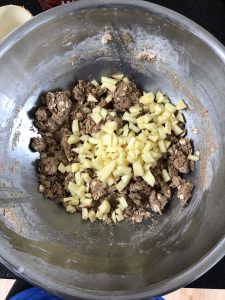
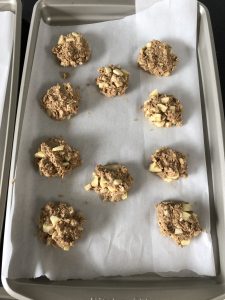
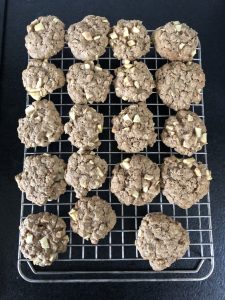
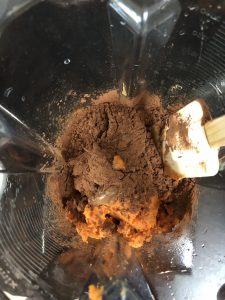
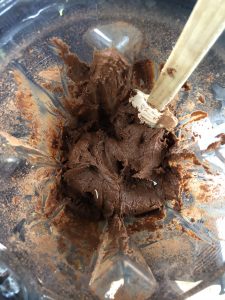
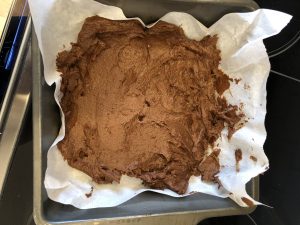
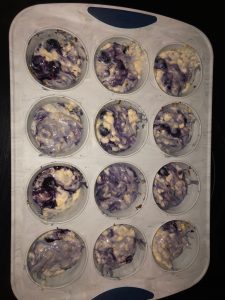
I tried out some things that were totally out of my comfort zone but that was the purpose of this whole inquiry! I learned a lot about my taste buds and surprised myself a few times (some good, some bad!)

2: Watch videos and read the reviews

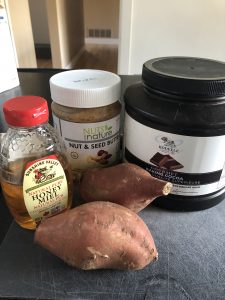
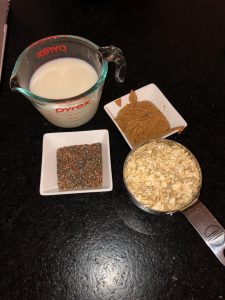
Get inspired! You can’t create recipes on your own so you might as well learn from the experts. I also found the comments on recipes really helpful. Sometimes the pictures from the creator aren’t so accurate so make sure you check out how it worked for real people just like you!

3: Create a baking journal

I just thought of this idea recently but it is something that I want to start! Each time you bake something new, add the recipe and your thoughts to a journal. My blog posts acted similar to a journal but I think having it on paper would be super beneficial!

All in all, I loved this inquiry and I want to continue baking healthy options! It has already become a habit, but the recipes are never ending which means I will always have more to learn!

Thanks for following along this journey with me šŸ™‚

Bye for now!

Eat Your Greens!

Hello Carly’s Crew!!

This week I chose to chef up some chocolate zucchini loaf. Here is the recipe!

This recipe was one that my mom found on Facebook and asked me to try! It is vegan, gluten free, oil free and it contains no added sugar. Instead of sugar, the recipe uses dates! I had never cooked before using dates so it was a brand new experience. In the past I have tried chocolate zucchini loaf but it has always been filled with sugar and chocolate chips. This recipe definitely allowed the zucchini to shine through a little bit. You could definitely tell this loaf was healthy just from tasting it.

Step 1: Mix together all dry ingredients.

Step 2: Mix dates and water together.

Step 3: Mix together remainder of wet ingredients.

Step 4: Combine with dry ingredients.

Step 4: Bake for 50 minutes, let cool and enjoy!

Difficulty level: 5/10

This recipe used a food processor, but since I have used a food processor in some of my previous recipes I knew exactly what to do. The most difficult part of this recipe was dealing with the cocoa. Whenever I bake with cocoa I manage to make a huge mess! This is definitely something I need to work on because it makes for a frustrating clean-up.

Deliciousness level: 9/10

This loaf was so good! My parents and I loved it. The dates didn’t blend up super well just because there was only such a small amount in the blender, so they ended up being pretty big chunks. Luckily, they made for a pleasant surprise in every bite of the loaf. This loaf was super healthy but it definitely didn’t taste healthy and isn’t that what we all want?! šŸ˜‰

We are quickly nearing the end of the semester, which also means the end of this baking inquiry! Sadly, this was my last recipe! Here is my advice for anyone starting a similar inquiry!


Cookie Monster

Hi Carly’s Crew!

This was a bit of a weird week…my house is being renovated so everything is a mess and I didn’t have time to go grocery shopping! I broke out of my healthy eating habits and chose to make cookies. We had tons of apples around the house and not much of anything else so I decided to make apple cinnamon cookies. They had sugar and butter in them so they weren’t super healthy, but an apple a day keeps the doctor away. Right?

Step 1: Preheat oven, line baking sheets with parchment paper and measure out all ingredients.

Step 2: Peel and chop one cup of apples.

Step 3: Mix together dry ingredients.

Step 4: Mix together wet ingredients and then add dry ingredients and apple.

Step 5: Create balls of cookie dough and flatten using hand.

Step 6: Cook for 15 minutes and ENJOY!

Difficulty level: 6/10

These cookies are pretty similar to any other cookie recipe so it was something that seemed very familiar to me. Right after I began mixing together my dry ingredients I realized that our Mixmaster was deep under the stairs due to our renovations. This meant I had to cream the butter and sugar, and mix along with the rest of the wet ingredients, by hand. It took a little longer than it would’ve if I had used an electric mixer and thats the only reason the difficulty level is higher.

Deliciousness level: 9/10

Cinnamon and apple together is absolutely delicious no matter what and these cookies were no different! They weren’t too sweet and they were the perfect texture. So far, this is my favourite treat I’ve baked. I tossed the apple in lemon juice before mixing it in and that give the apple pieces a little kick. I would highly recommend these to anyone!

Maybe next week my treat will score a 10/10 for deliciousness…you better check back in to see! Bye for now šŸ™‚

Sweet Potato Treats

Hi again Carly’s Crew!

Everyone knows that sweet potatoes are sweet šŸ˜‰ But did you ever think about sweet potatoes in brownies? Me neither! Nonetheless, I tried it out…

Step 1: Gather ingredients and preheat over to 350.

Step 2: Measure all ingredients into a food processor (blender).

Step 3: Mix until it is well combined.

Step 4: Transfer into a greased baking dish and spread evenly.

Step 5: Bake for 12 minutes and enjoy!

Difficulty level: 5/10

The batter was thick and messy which made for extra clean-up but other than that they were easy peasy lemon squeaky. Before I did this inquiry I never had used a food processor for mixing but it is much more efficient and easier to clean than the Mix Master that I am used to mixing with. Pro tip: After you empty the contents from the blender, fill it up with a few inches of warm water and add a drop of soap. Turn it on to medium power and it will wash the majority of the blender for you! Now all you have to do is rinse!

Deliciousness level: 7/10

These were awesome! You couldn’t even tell that they were made with sweet potato, they just tasted like really rich dark chocolate brownies. I think it would be a delicious treat to have with vanilla ice cream! I ended up cutting them into pretty big squares but next time I would cut them into smaller bite sized pieces.

So there you have it! These definitely are not the healthiest thing in the world but everyone deserves a treat once in a while, and these brownies are a much better choice than most other baked goods.

See you next week!

My version of overnight oats

Hey Carly’s Crew!

This week I decided to see what all the buzz is around overnight oats. When you search overnight oats on Pinterest or Google it can be overwhelming at first! There are tons of recipes with all types of ingredients. I attempted a very basic recipe just to get the hang of it. Here are my ingredients:

I chose this recipe from Minimalist Baker. Here is the picture from the website:

Jar of Peanut Butter Overnight Oats for a delicious vegan breakfast

And here is the picture of my final product:

Definitely not as aesthetically pleasing to look at… but they were yummy, filling and quick to make!

Difficulty level : 4/10

This recipe took me about 10 minutes to chef up. The only downside is that you do need to be prepared and make them the night before, you can’t just wake up and make them. The ingredients were simple and there was no mess because it was all in my mason jar. I ate it at home, but it would be a great on-the-run breakfast!

Deliciousness level: 8/10

Yum! I think that this is my new favourite breakfast šŸ™‚ As you already know, I’m a peanut butter lover so this recipe was right up my alley! I know many people complain that oats like this have a weird texture because they are cold. Personally, I love the texture! There will definitely be more adventurous overnight oats in my future; I’m excited to try out some different recipes!

Here are the next overnight oats I plan to try:

Brown Sugar Pear Steel-Cut Oats

See you next week for some healthy brownies!

Carly šŸ™‚


Peanut Butter Balls

Hi Carly’s Crew!

I hope you didn’t forget about me while I was taking some time off for reading break šŸ˜‰ Don’t worry I definitely didn’t forget about you! As promised I have a new recipe to share with you this week folks…Peanut Butter Protein Balls. There are so many varieties of protein balls but I wanted one with lots of seeds and no chocolate chips. I found this one on Detox Insta! Here is a list of other recipes that I looked at and want to try eventually!

Here is the step-by-step picture breakdown:

Step 1: Pull out ingredients.

Step 2: Mix all together in a large bowl. (I had to use a spoon because a spatula wasn’t working very well)

Step 3: Roll into small bite sized balls and place onto parchment paper.

Step 4: Let cool in fridge for at least an hour and then store in an air-tight container… That is ALL!

Difficulty level : 2/10

These took me about 10 minutes to whip up and the clean up was super quick as well. I had to go out and buy some flax seeds but I am planning on using flax seeds in my upcoming recipes so I decided to purchase the big bag.

Deliciousness level: 8/10

Yum yum yum! I am a peanut butter fan so I am biased but lets be real… peanut butter anything is always delicious. The seeds in these make them super filling which is always a plus. Even just one ball is enough to fill me up for a little snack. They are a little bit too crumbly but I think it could have been solved by adding some extra peanut butter or honey to make them less dry.

If you have never made protein balls I would highly recommend them! They are quick and easy for meal prep but they also last a while in the freezer so you can always make a large batch in one setting. This recipe is definitely a staple that I will be making again sometime in the near future.

Next week I will be making overnight oats and researching the benefits of them. Overnight oats are all the rage on health blogs right now but I have never tried them; I usually just have the packaged oatmeal that has tons of added sugar and never really fill me up.

Can’t wait to share my findings with you next week!

Catch you soon Carly’s Crew!


Avocado Cookies

Hey Carly’s Crew!

This week I was feeling extra adventurous and I baked some avocado cookies…Say what? Avocado in cookies? Yup, you heard that right!

I saw this recipeĀ and I was absolutely intrigued. The ingredients looked simple, however, I was so curious to see how avocado and banana would blend together and form a cookie. I chose to skip the chocolate chips in order to keep them on the healthier side.

Here are my step-by-step photos:

Step 1: Preheat oven and line baking sheet.

Step 2: Cube avocado.

Step 3: Mix up avocado, banana and honey in food processor/blender.

Step 4: Add remainder of ingredients and mix.

Step 5: Scoop onto baking sheet.

Step 6: Bake for about 12 minutes and then let cool.

Difficulty level: 6/10

I already had all of these ingredients kicking around at home so lucky for me, I got to skip extra grocery shopping this week. Blending the avocado, banana in the food processor was the trickiest part because I had never used a food processor on my own before. I actually ended up using our Vitamix rather than a food processor. They were quick to make but holy smokes did it ever make for a chocolatey clean up! The batter got everywhere (as you can see in my photos).

Deliciousness level: 2/10

These “cookies” were a bit of a bust! They had the texture of a soggy brownie and zero flavour. They are super healthy though! Maybe if I added an extra banana they would have a bit more flavour and sweetness. Oh well…now I know!

In all honesty, I was skeptical to try these cookies. Avocado was one ingredient that I had on my mind map from the very beginning of my inquiry so I decided to brave it out. I don’t think I will make these cookies again. However, I will definitely use avocado again in my baking!

Next week is reading break yippee! The good news is I will get some time to relax but the bad news is that I won’t be posting a new recipe for all of my dedicated followers. Make sure to check back in a couple weeks and see what I end up creating Ā šŸ™‚

Bye for now Carly’s Crew!

Go Bananas!

Hey there Carlyā€™s Crew!Ā 


Welcome to another week of my baking adventures. Following along with my muffin success from last week I decided to cook up some banana muffins (sans sugar).

Mashing up the bananas!

The final product!

Difficulty level : 6/10

These muffins werenā€™t terribly tricky but the elevated difficulty level comes from the complexity of the ingredients. I didnā€™t have any almond extract or almond milk at home so I took a quick trip to the grocery store and picked up some ingredients. For my bananas, I used frozen bananas and holy smokes, it sure is tricky to mash a frozen solid banana. I quickly learned that if you run it under hot water for about a minute while the peel is still on it makes it much easierĀ 

Deliciousness level: 6/10

Yum yum yumā€¦these muffins were tasty, and you couldnā€™t even tell that they were made without sugar. Unfortunately, they were a little bit too dry once they cooled! It was an easy fix though, when I microwaved the muffins, the moisture returned.Ā 

I didnā€™t really plan to make muffins two weeks in a row but I was craving banana muffins so IĀ  thought I should go for it. To change it up from last week I focused on creating muffins without any added sugar. I found this recipe on a website that I had never heard of before but it turned out pretty well still. We live in an age where technology gives us access to literally anything in a matter of seconds. This had made it so easy for me to find recipes for just about anything I could ever imagine. I definitely have spent a lot of time just scrolling through recipe sites and bookmarking hundreds of recipes that I want to try one day. I have a hard time picturing what it was like before the internet when cookbooks were the only source for finding new recipes!Ā 

I had a stressful week but while I was baking these muffins I realized that all my stress disappeared for a little bit. This was a really good reminder of how fun and beneficial baking can be. After thinking about my experience with mental health and baking I figured there must be some research out there that looked into this topic. I found one study that recognized this experience asĀ  ā€œculinary therapyā€. Another article spoke about how baking allows you to feel in control and gives you a sense of purpose. Personally, when I feel overwhelmed after a hard day I just want to curl up in bed, however, baking gives me a chance to work hard on something and the end result is usually something delicious. The immediate reward of a snack or meal makes me feel proud of myself and I feel accomplished!Ā 

Before this inquiry I had never considered baking to be anything more than just a hobby! Of course, I am still mainly focusing on the nutritional benefits of baking but I think it is also important to recognize the mental health benefits that accompany baking. Next week, I will be working on some protein cookies so make sure to check back soon!Ā 

See you then Carlyā€™s Crew xo


Free Inquiry Week 3

Hey Carly’s Crew!

Today is the day you have all been waiting for! I made blueberry muffins!Ā 

Please don’t mind the less than perfect photos…maybe my next inquiry will look into becoming a better photographer šŸ˜‰ Anyways, lets get down to business.

Difficulty level : 5/10 – easy peasy, lemon squeezey!

These muffins were quick to make and used ingredients that most people have hanging around the house. Next time I make blueberry muffins I will be extra careful to fold the blueberries in, instead of Ā stirring them. In all honesty, I was surprised how purple the batter went because I thought I was being careful…oh well! There is always next time!

Deliciousness level : 7/10

The oatmeal in these muffins definitely added a finishing touch. Not only were they delicious, but they were filling too. It was more than just a sweet treat! The blueberries were sweet and yummy but they’re also filled with antioxidants so you can feel good about eating them.

These muffins were definitely not the healthiest thing to make it. However, I wanted to start with making something that wasn’t too crazy and out of my comfort zone. I really loved using yogurt in the muffins and I definitely will use yogurt again in my healthy baking journey.

If you have never used a silicone muffin tray you are are missing out! I read on one of the health blogs that they are life changing, but I didn’t believe them so I went out and bought one. Let me tell you… they truly are life changing. For one, the muffins popped right out once they were done baking, no fuss and no mess. I didn’t even have to grease the tin or use muffin liners. Also, the tray created perfectly sized muffins that work for a grab and go snack. Treat yourself and go buy a silicone muffin tray!

I would absolutely make these muffins again! I am excited to try making some more adventurous snacks so make sure to check back next week to see what I come up with.

I better get back to baking…bye for now!

P.S – Check last week’s post out if you’re curious to see what recipe I followed!

Free Inquiry Week 2

Hi Carlyā€™s Crew!

Itā€™s me again! This past week I have spent a lot of time getting all set up for my healthy baking inquiry. After a meeting with my professor, Rich, I was able to construct my inquiry into a question : How can I refine my baking skills in order to create snacks that are more nutritious? Once I had a clear idea of where my inquiry was heading I was able to create a mind map!

My focus this week was to get organized and make a plan of action. I have found plenty of recipes for healthy muffins, cookies and other snacks that I am super excited to share with you all. Some websites that I have had success with are listed below:Ā 

Oh She Glows – https://ohsheglows.com

Amyā€™s Healthy Baking – https://amyshealthybaking.com

Minimalist Baker – https://minimalistbaker.com

I feel a little bit overwhelmed after seeing how many healthy baking recipes there are out there! Obviously, by the end of this semester I will not be a professional by any means but I hope that I will gain experience and have fun while doing it. My eyes have been opened already even after just looking at the different ingredients used in these recipes. Sweet potato muffins, black bean brownies, avocado instead of butter? I have no idea how my creations will turn out but it will all be part of the experience. They might be delicious or they might be nasty! To make it easy for all of my dedicated followers, I will be doing ratings for each of my creations. I will give a rating out of ten for difficulty level, and deliciousness level! Iā€™m no Gordon Ramsay but I consider myself to be a tough critic, so if anything is a 10/10 deliciousness you better go try it out!

Lucky for you, next week I will be working on these blueberry muffins so make sure to check back and see how it goes!

The Ultimate Healthy Blueberry Oatmeal Muffins

Donā€™t miss me too much xox

Page 1 of 2

Powered by WordPress & Theme by Anders Norén